Heat
Braising and slow cooking
Cheap cuts, a little liquid and a long time. The oven does the work and the dish improves overnight.
3 min read6 recipes practise it
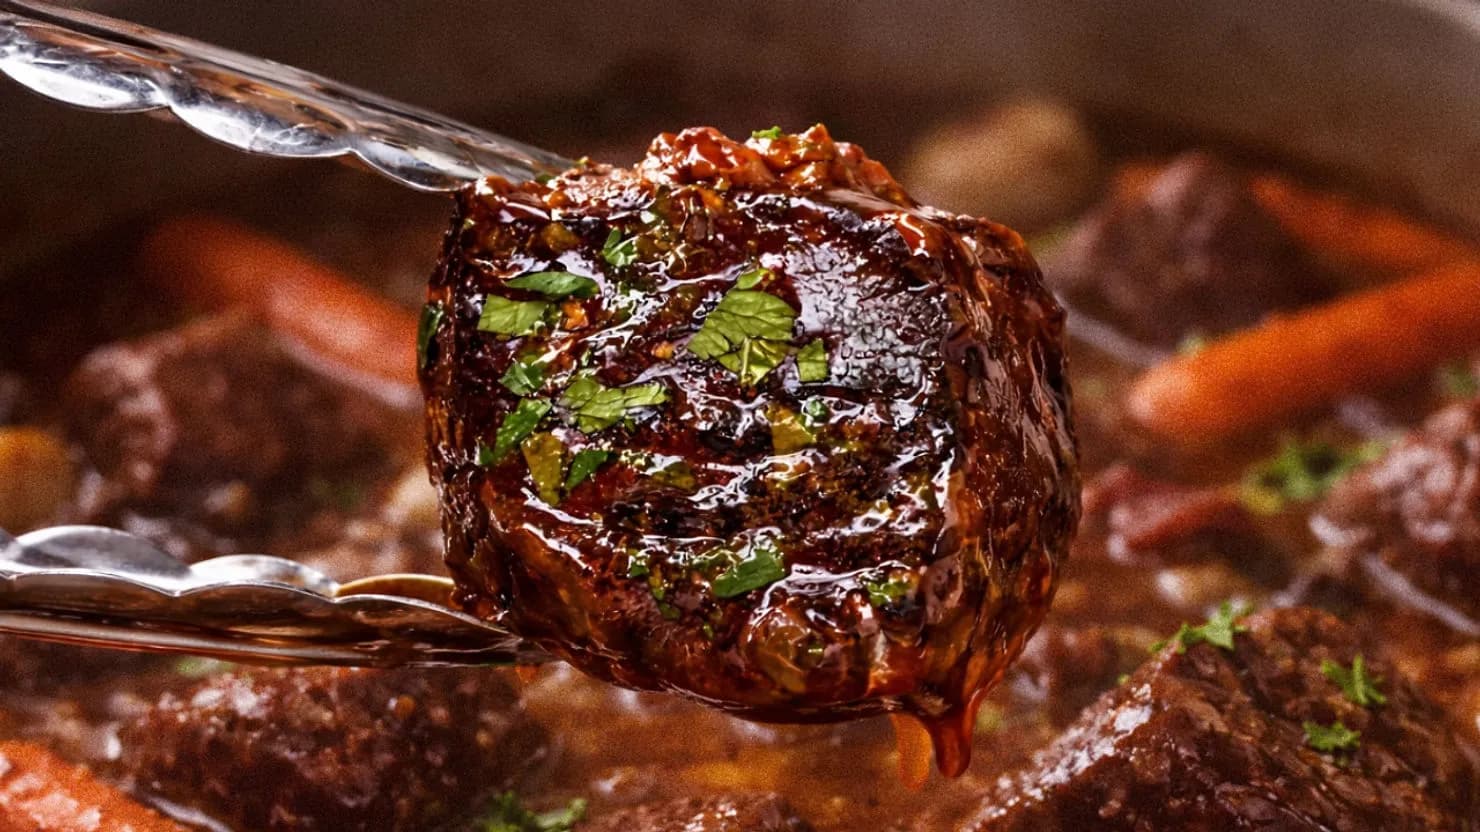
Braising is how the cheapest cuts of meat become the best meals. Shin, shoulder, brisket, cheek and neck are full of connective tissue, which is tough and chewy at any temperature a steak enjoys. Held gently at around 80°C to 90°C for a few hours, that same tissue turns to gelatine, and the meat goes from unpleasant to falling apart while the sauce thickens itself. There is no shortcut, and there is also very little to do.
The method is always the same shape. Brown the meat in batches so it colours rather than steams. Take it out, soften the onions, carrots and celery in the same pan, then add garlic and any tomato purée for a minute at the end so they do not burn. Deglaze with wine, beer or stock, scraping everything off the base. Return the meat, add enough liquid to come roughly two thirds of the way up, bring it to a bare simmer, then cover it and put it in a low oven.
Two details matter more than the rest. The first is the liquid level. A braise is not a stew and not a soup: the meat should sit in liquid, not swim in it, because the exposed top surface keeps browning while the submerged part cooks. Too much liquid and you dilute everything and have to boil it down later.
The second is the temperature. It should never boil. A rolling boil tightens the muscle fibres and squeezes out moisture, so meat cooked hard comes out stringy even after hours. You are looking for the occasional lazy bubble. An oven at 150°C is easier to hold at that point than a hob, which is why most braises here go in the oven with the lid on.
Give it longer than you think. Somewhere around the two hour mark most braises go through an awkward stage where the meat is cooked but still tight. This is normal and it is not a sign that something has gone wrong. Another 45 minutes usually takes it through to tender. Poke it with a fork: when the fork goes in with no resistance and twists freely, it is ready.
If the sauce is thin at the end, lift the meat out, put the pan on the hob and let it reduce for 10 minutes. If it is too thick, loosen it with a splash of stock. Taste it before it goes to the table, because a long cook concentrates salt, and taste it again after a squeeze of lemon or a splash of vinegar, which lifts a rich braise more than more salt will.
Braises are better the next day, genuinely rather than as a piece of folklore. The gelatine sets, the flavours settle into each other, and the fat rises and solidifies so you can lift it straight off. Cook it the day before if you are feeding people, and reheat it gently on the hob or in a moderate oven. They also freeze better than almost anything else, which is why several of the braises on this site are in the batch cooking section.
Step by step
Step 1: Brown the meat in batches
In a heavy pan with a lid, in one layer, with space around each piece. This is where most of the depth of the finished dish comes from.
Step 2: Build the base
Soften onion, carrot and celery in the same pan, add garlic and tomato purée for the last minute, then deglaze with wine, beer or stock.
Step 3: Get the liquid level right
Two thirds of the way up the meat, not covering it. A braise concentrates; a flooded pan just makes soup you have to boil down later.
Step 4: Low and covered, never boiling
Lid on, oven at 150°C, an occasional bubble at most. A hard boil tightens the meat and no amount of extra time will loosen it again.
Step 5: Test with a fork, then finish the sauce
Ready when a fork twists in without resistance. Reduce the sauce if it is thin, then check the seasoning and add acid if it tastes heavy.
Put it to work
Recipes that practise it
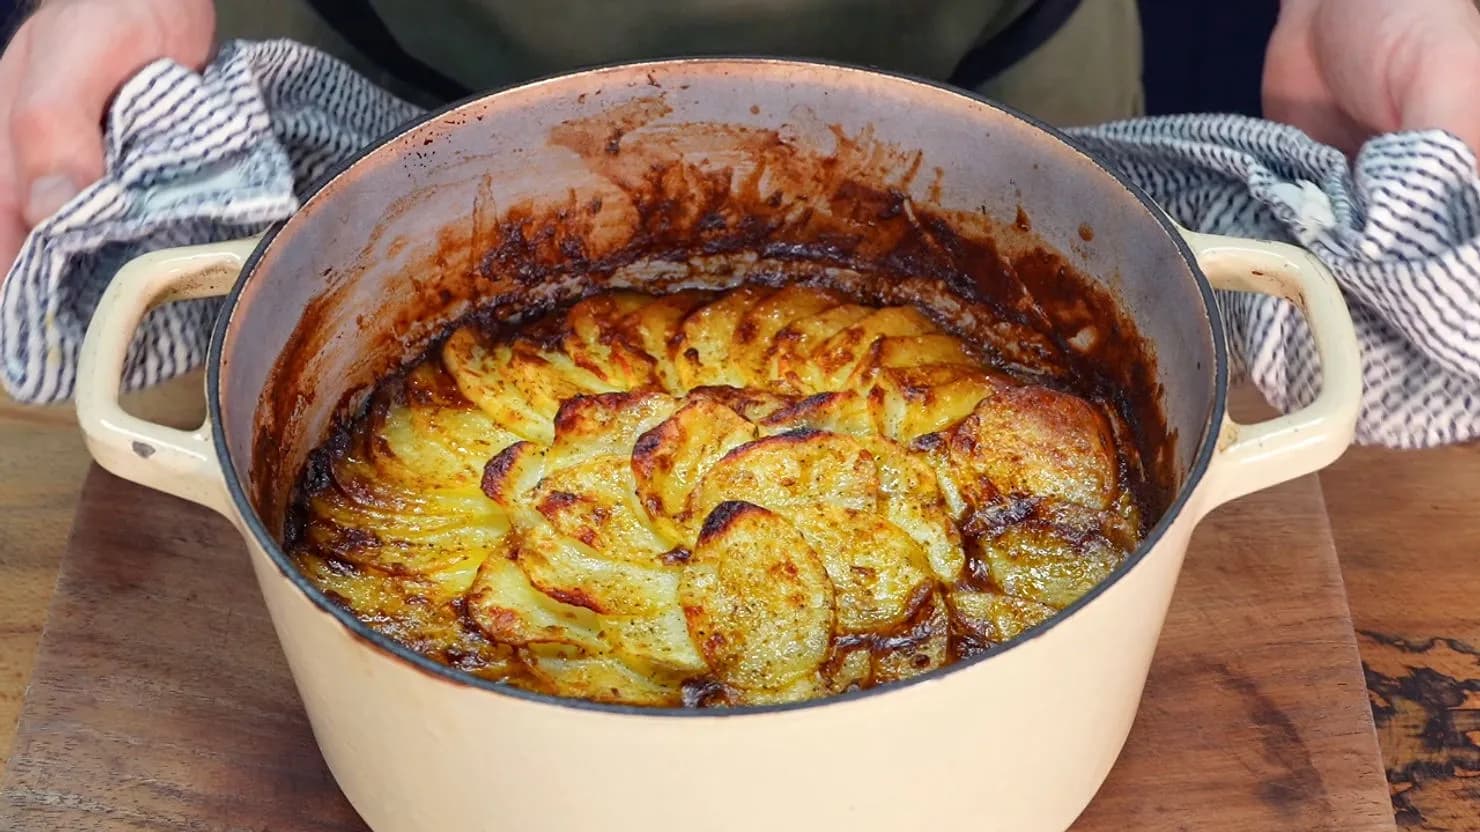
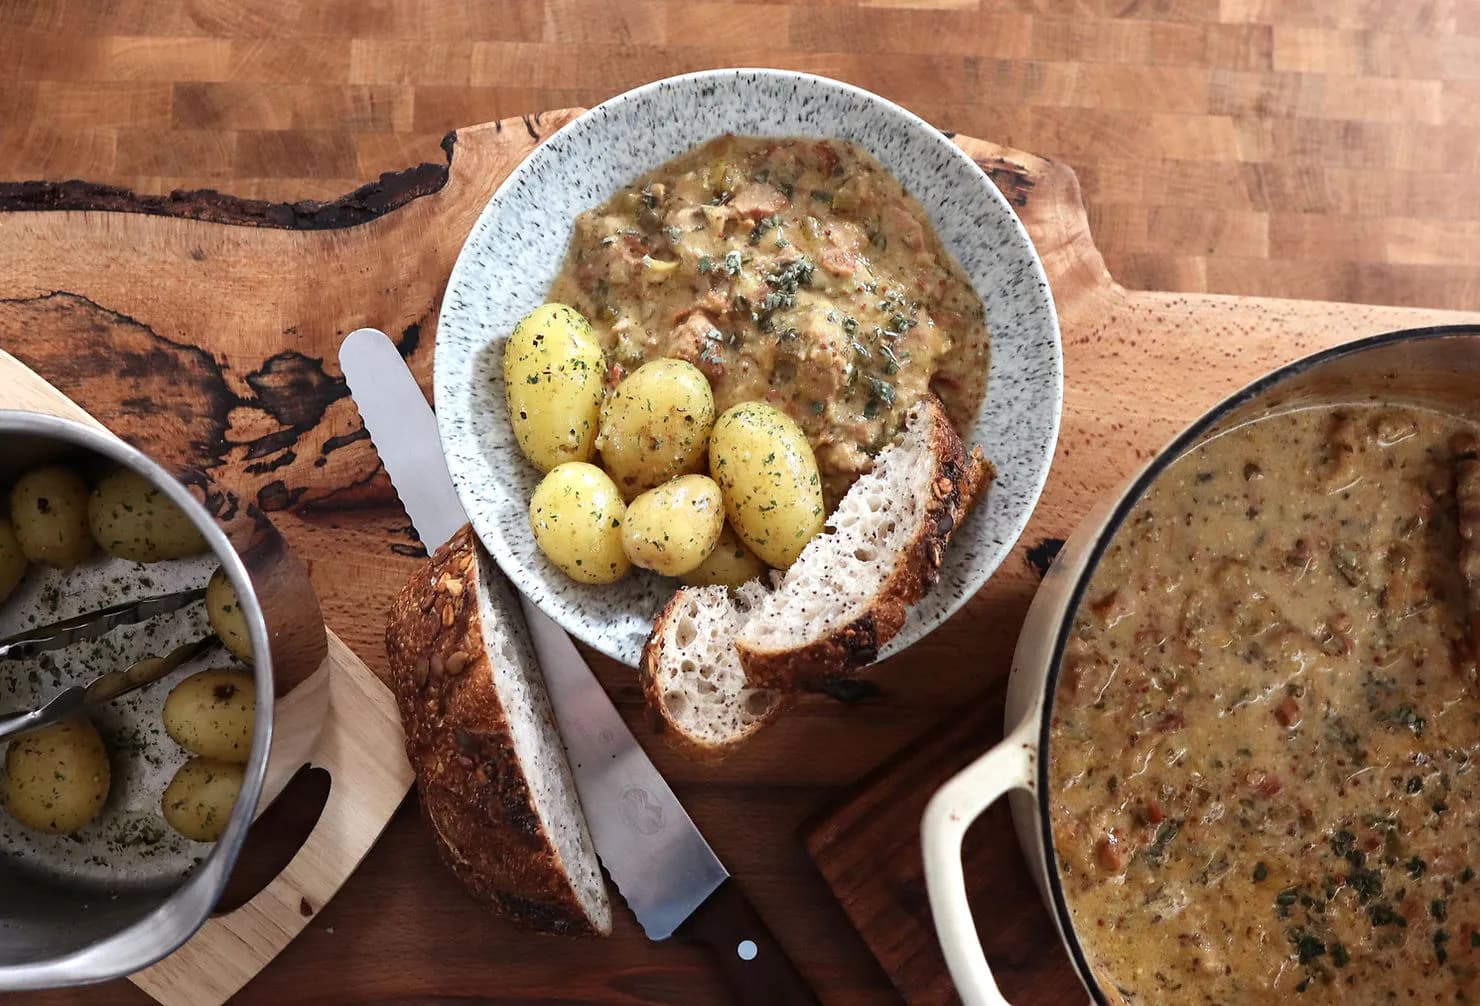
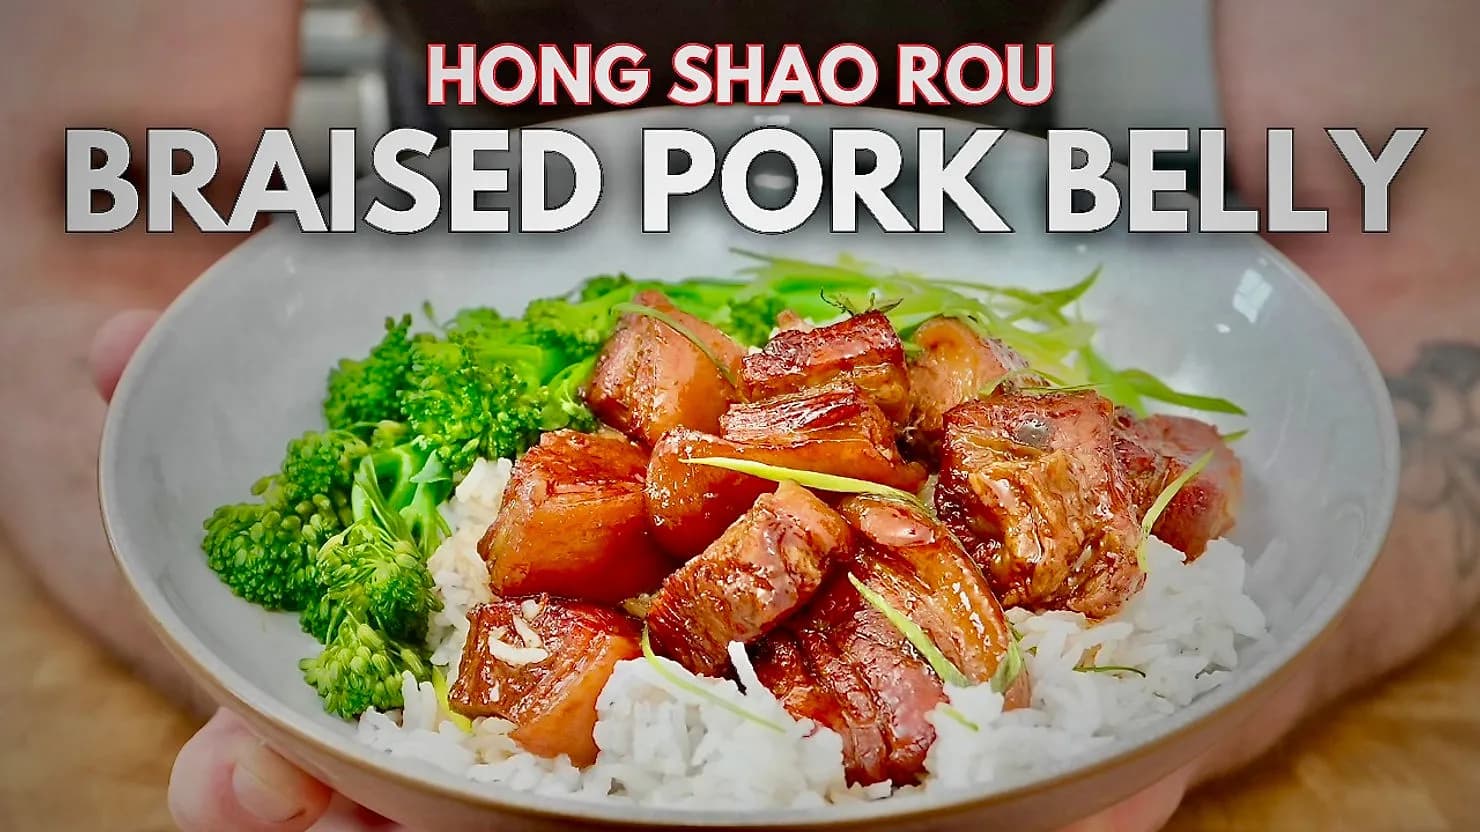
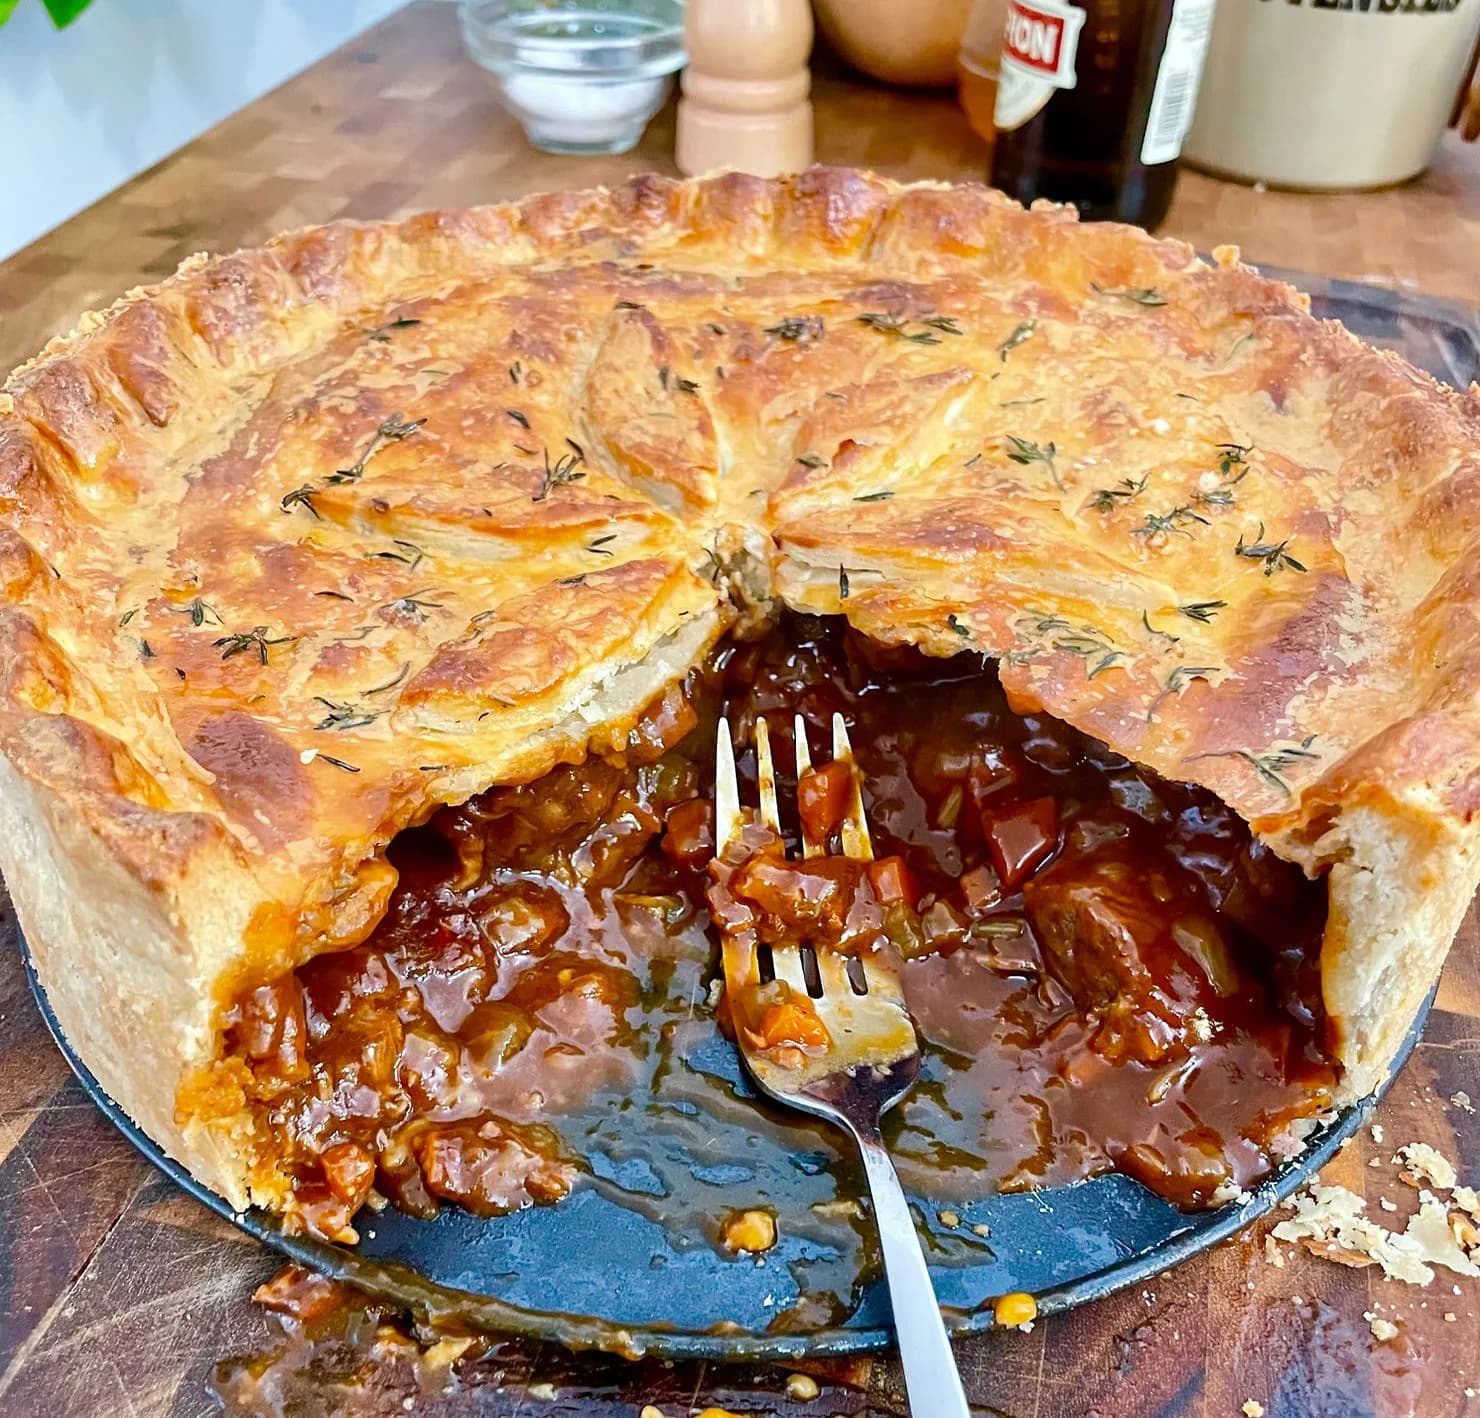
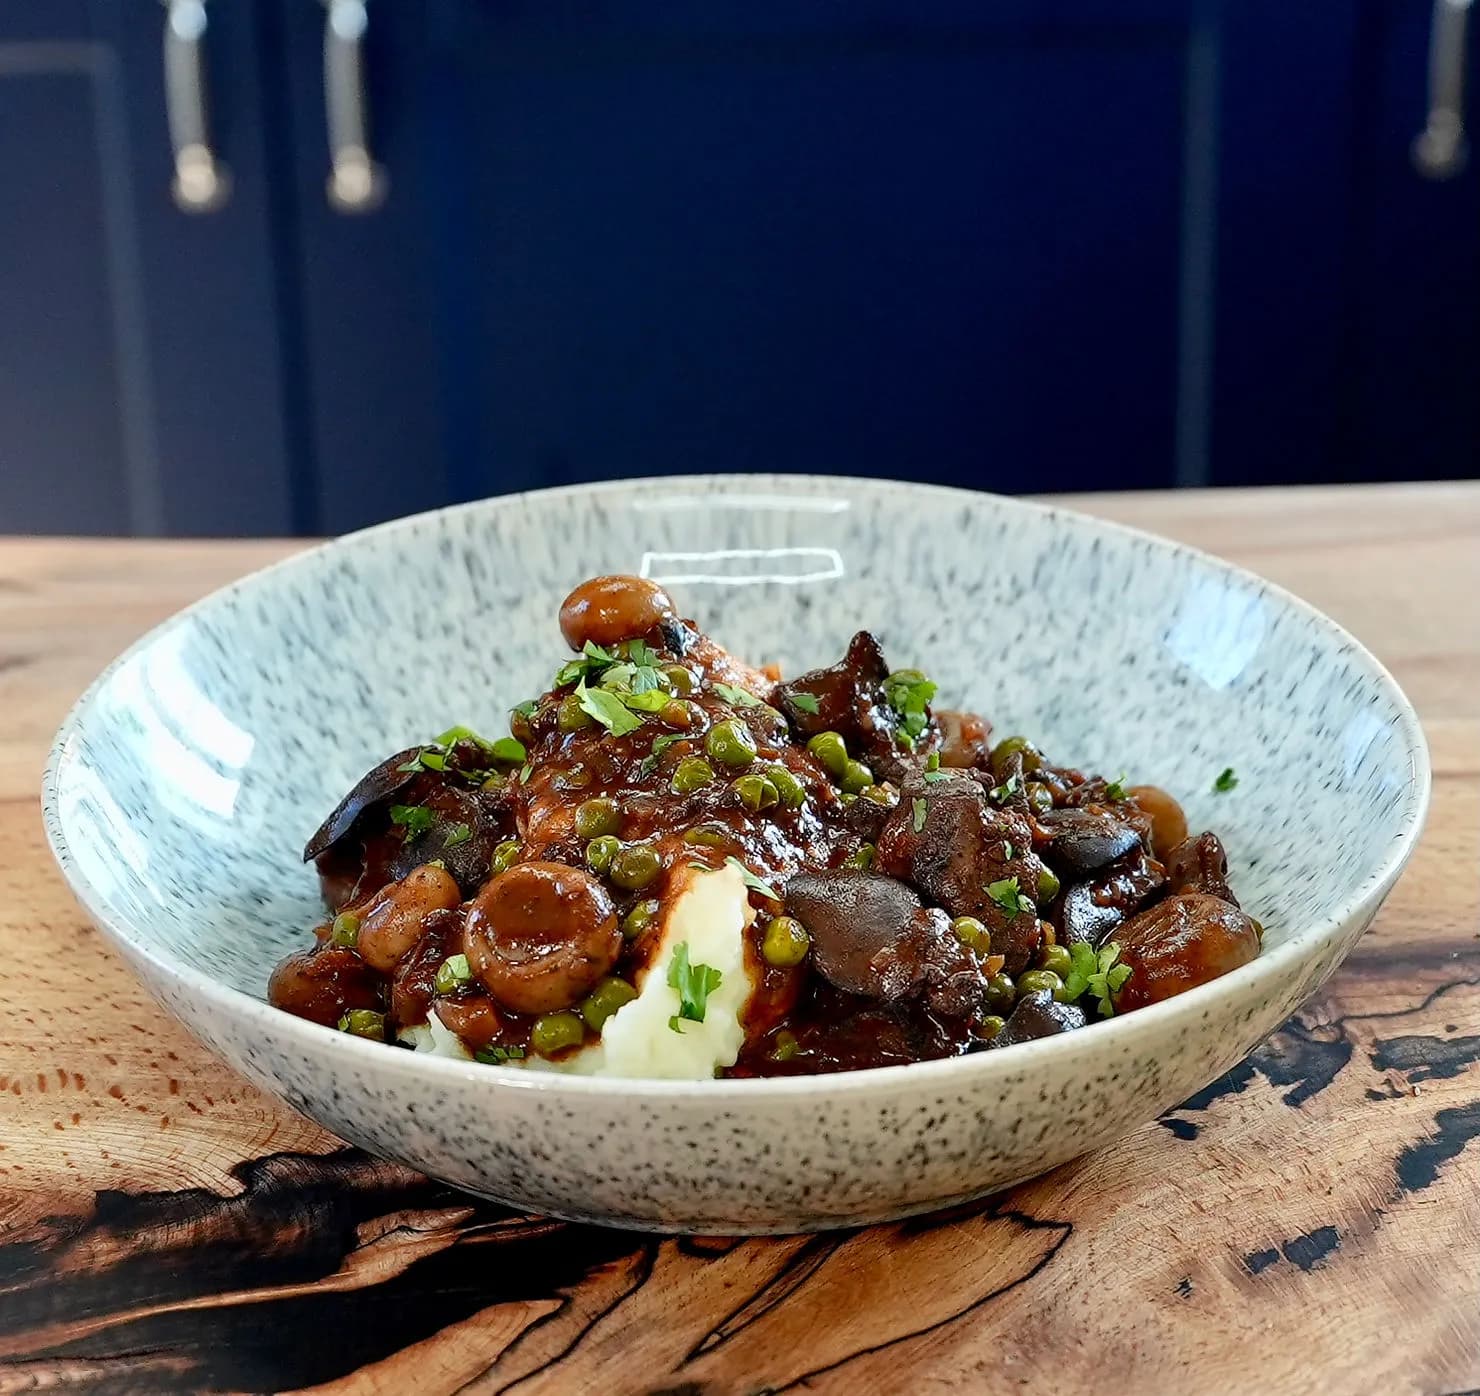
The fastest way to learn a technique is to cook something that needs it. These all do.
Stay in the loop
Get new recipes in your inbox
Occasional emails with new recipes, cooking tips and what’s new at Pinch of Mint.
See our Privacy Policy for information about how your personal data is used.