Pinch of Mint · www.pinchofmint.com/recipes/coconut-ice
- Five ingredients or fewer
Old-fashioned coconut ice

By Tom · Updated
- About 1 hour 25 min
- Takes a bit of care
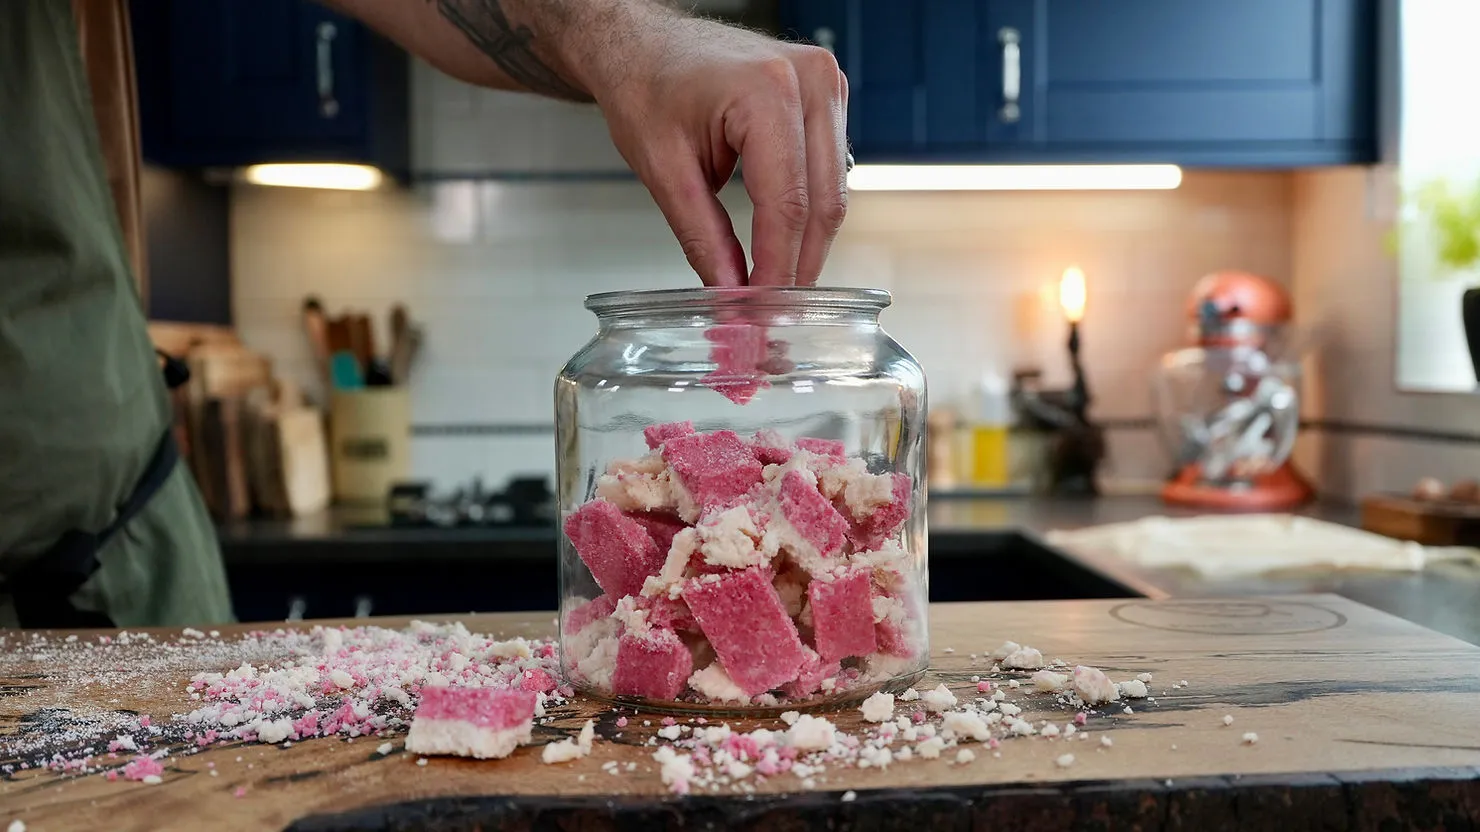
A true sweet shop classic, coconut ice is a simple but unforgettable treat made with just a handful of ingredients. With its iconic pink-and-white layers, it's a recipe that brings back childhood memories and tastes just as good today as it did decades ago.
Loads from YouTube only once you press play.
The recipe
Old-fashioned coconut ice
A true sweet shop classic, coconut ice is a simple but unforgettable treat made with just a handful of ingredients.
- 15 min prep
- 10 min cooking
- 1 hour hands-off
- Takes a bit of care
Times and difficulty are our estimates from the method, not stopwatch figures.
Ingredients
Equipment
Tick things off as you go — they stay ticked if you close the page.
A dotted underline means the amount has been rounded to something you can measure.
Method
Step 1: Prepare the tin
Lightly oil and line a 20 x 15 cm shallow tin with greaseproof paper. Set aside.
Step 2: Heat the sugar and milk
Place the milk (150 ml) (or cream) and caster sugar (450 g) into a saucepan. Heat gently, stirring, until the sugar dissolves.
Step 3: Boil to soft ball stage
Bring to a gentle boil for about 10 minutes, or until the mixture reaches soft ball stage (112-116°C on a sugar thermometer). Tip: To test without a thermometer, drop a little mixture into cold water (2 tsp), it should form a soft ball when pressed between your fingers.
Step 4: Add the coconut
Remove from the heat and quickly beat in the desiccated coconut (150 g).
Step 5: Make the white layer
Spread half of the mixture into the prepared tin. Press down firmly with the back of a wet spoon to create an even layer.
Step 6: Make the pink layer
Add a few drops of red food colouring to the remaining coconut (150 g) mixture and mix well until evenly pink. (If it starts to set too quickly, stir in a spoon or two of water (2 tsp) to loosen.) Spread this pink mixture on top of the white layer and press down firmly with the back of a wet spoon.
Step 7: Set the coconut ice
Leave to cool, then transfer to the fridge for at least 1 hour until firm.
Step 8: Cut and serve
Once set, cut into squares (it may crumble a little but that's part of the charm.). Alternatively, break it into rustic chunks.
- Step 9
Storage: Store your coconut (150 g) ice in an airtight container. Best eaten within a few days.
Stay in the loop
Get new recipes in your inbox
Occasional emails with new recipes, cooking tips and what’s new at Pinch of Mint.
See our Privacy Policy for information about how your personal data is used.
More vegetarian puddings and bakes
Questions people ask
How long does old-fashioned coconut ice take?
About 1 hour 25 min from start to finish: 15 min of prep, 10 min of cooking, and 1 hour hands-off while it waits. That figure is worked out from the method rather than timed with a stopwatch, so give yourself a little more the first time.
How much does this make?
The original recipe did not state a yield, so nothing has been invented for it. The scale control on the recipe card multiplies the quantities instead, which is the honest version of the same thing.
Can I see the ingredients in ounces and pints?
Yes. The metric and imperial switch on the recipe card converts every quantity, rounded to amounts you can actually weigh or measure rather than to four decimal places. Your choice is remembered for every recipe on the site.
Is it vegetarian?
Yes, as written. If you are cooking for a strict vegetarian, the one to check is the cheese: several hard cheeses are made with animal rennet.
Old-fashioned coconut ice · Pinch of Mint · www.pinchofmint.com/recipes/coconut-ice