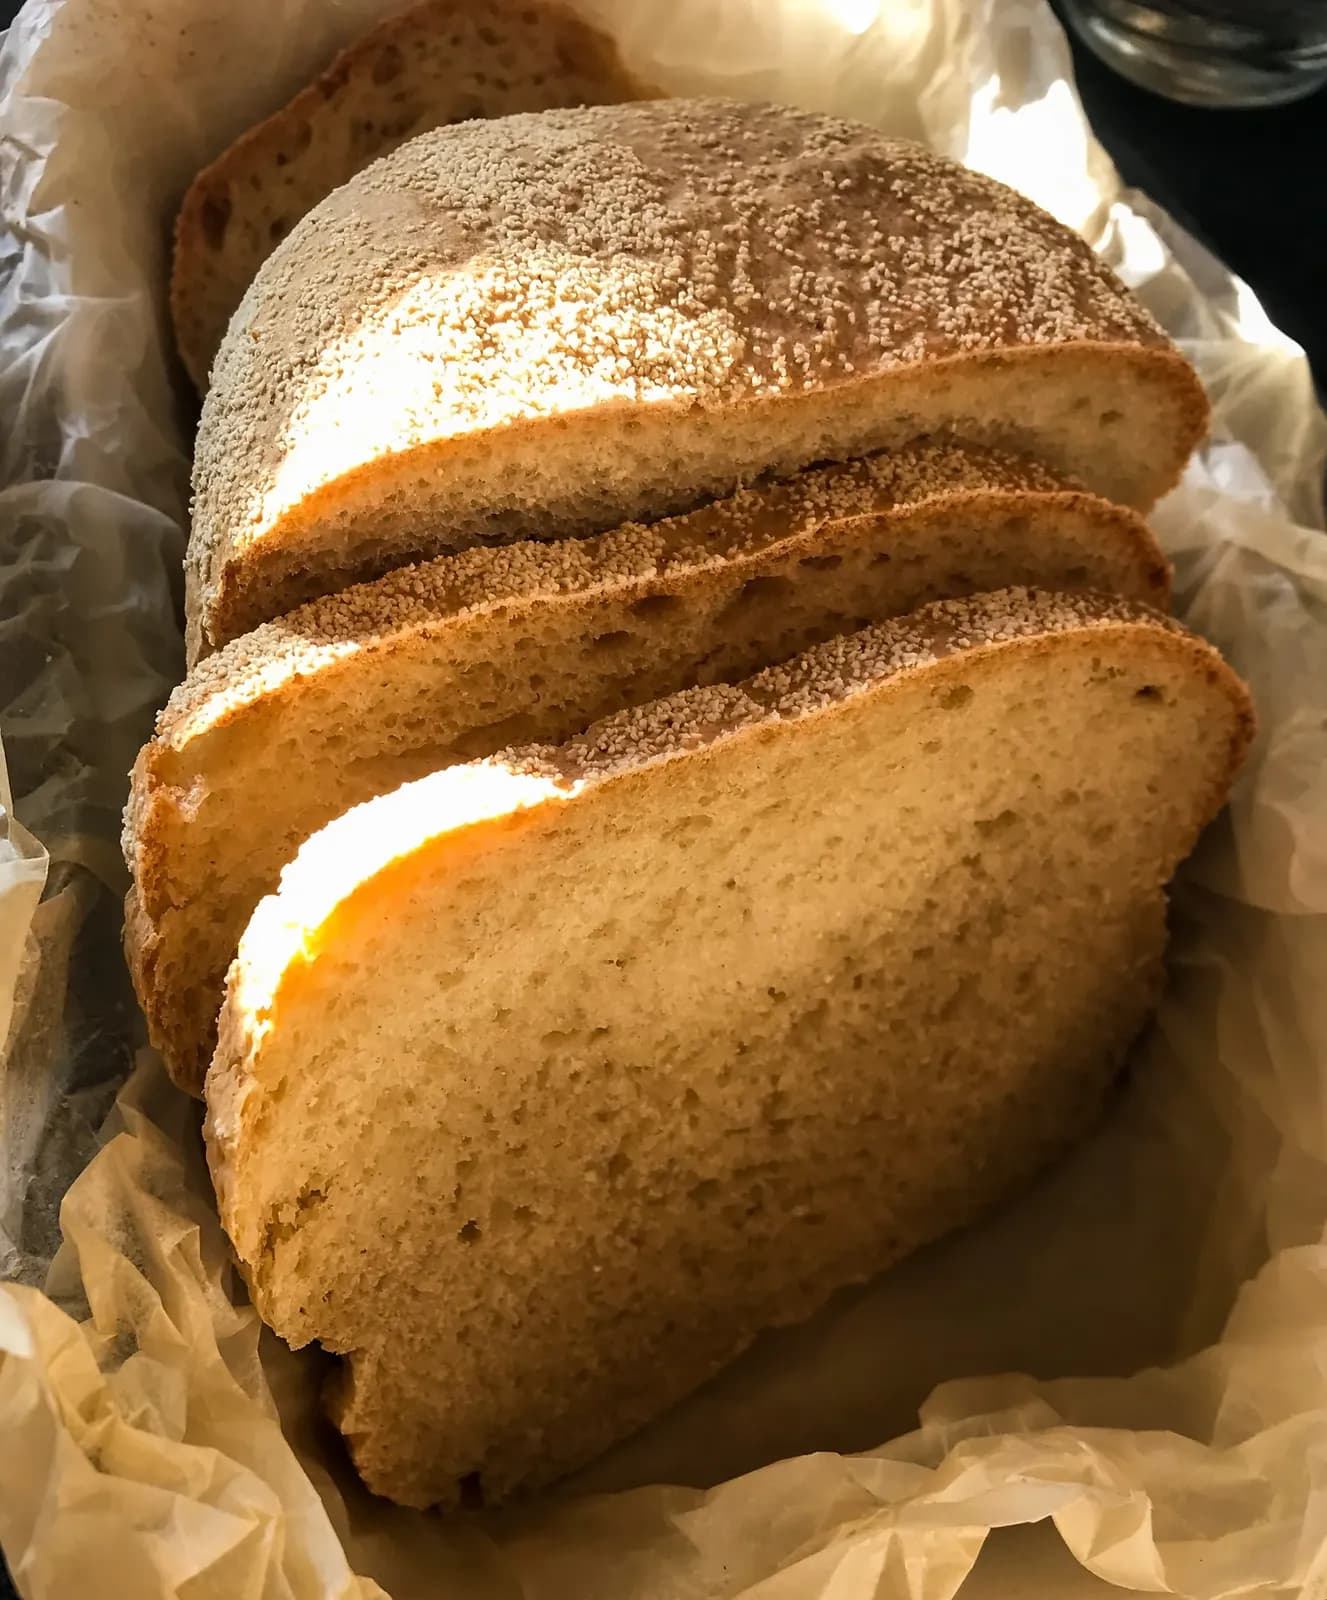
Dough
Bread dough: kneading and proving
Four ingredients, two rises and one thing to learn: what the dough feels like when it is ready.
3 min read6 recipes practise it
Bread is flour, water, salt and yeast, and everything else is technique. That is good news, because technique is learnable and it does not require anything you do not already own.
Start with the flour. Strong white bread flour has more protein than plain flour, and protein is what becomes gluten, the elastic network that traps gas and lets a loaf rise. Plain flour makes bread, but a flatter, denser one. Yeast comes as fast action, which goes straight in with the flour, or dried active, which wants waking in warm water first. Either works. Salt goes in at around 2% of the flour weight, so 10g for a 500g loaf, and it is not optional: unsalted bread tastes of nothing and the dough behaves differently.
Water temperature matters more than people expect. Lukewarm, around body temperature, is right. Hot water kills yeast outright.
Mix to a shaggy mass, then leave it for 10 minutes before you knead. This is the one step that is almost always skipped and it makes kneading easier, because the flour hydrates on its own and gluten starts forming without any help.
Kneading is stretching, not squashing. Push the dough away with the heel of your hand, fold it back, turn it a quarter and repeat. It will be sticky and unpleasant for the first few minutes. Do not add more flour, because the stickiness passes as the gluten develops, and every extra handful of flour makes a drier loaf. Eight to 10 minutes by hand, or 5 in a mixer with a dough hook, gets you there. You will know it is ready when the dough is smooth, springs back when you press it, and can be stretched thin enough to see light through without tearing.
The first prove is where flavour develops. Cover the bowl and leave it until roughly doubled, which takes 1 to 2 hours in a warm kitchen and considerably longer in a cold one. Time is a guide; size is the answer. A slow, cool rise tastes better than a fast, warm one, and dough left in the fridge overnight is easier to handle the next day.
Knock it back gently, shape it, and prove again. The second prove is shorter, usually 45 minutes to an hour. Judge it with a fingertip: press the dough lightly and if the dent springs back slowly and only part of the way, it is ready. If it springs straight back it needs longer, and if it collapses it has gone too far, which is not a disaster, just a slightly flatter loaf.
Bake hot, 220°C or above, and get steam into the oven for the first 10 minutes. Steam keeps the crust soft long enough for the loaf to expand fully, then it sets and browns. A roasting tin of boiling water on the bottom shelf does it, or bake inside a lidded casserole, which traps the loaf's own moisture.
It is done when the base sounds hollow tapped, or reads 94°C inside. Cool it on a rack for at least 30 minutes before cutting. Bread is still finishing as it cools, and cutting hot bread gives you a gummy crumb.
Step by step
Step 1: Mix, then leave it for 10 minutes
Strong bread flour, lukewarm water, salt at 2% of the flour weight and yeast. Rest the shaggy dough before kneading and it hydrates on its own.
Step 2: Knead until it stretches thin
Push away with the heel of your hand, fold, turn. Eight to 10 minutes. Do not add flour to fix the stickiness; it passes on its own.
Step 3: First prove until doubled
One to 2 hours in a warm kitchen, longer in a cold one. Judge by size, not by the clock. A slow rise tastes better than a fast one.
Step 4: Shape, then prove again
Forty-five minutes to an hour. Press it lightly: ready when the dent springs back slowly and only part of the way.
Step 5: Bake hot with steam, then cool completely
220°C with a tin of boiling water below, or in a lidded casserole. Done at 94°C inside. Cool 30 minutes before cutting or the crumb goes gummy.
Put it to work
Recipes that practise it
The fastest way to learn a technique is to cook something that needs it. These all do.


Stay in the loop
Get new recipes in your inbox
Occasional emails with new recipes, cooking tips and what’s new at Pinch of Mint.
See our Privacy Policy for information about how your personal data is used.